Hot on the heels of the Windows Azure Bootcamp that I did this weekend, I decided that I wanted to do something with Windows Azure, that way I could practice what I had learnt, and begin to increase my exposure to what Windows Azure brings to the table. I decided that I wanted to use the Windows Azure Blob Storage to host all of the static content of my WordPress Blog, thus, _hopefully, _increasing the performance of my blog. What follows is a list of instructions for setting up your WordPress Blog, as well as your Windows Azure account, and also your domain registrar (in order to apply a shortened domain name to your Blob Storage Account).
This article breaks down into three main parts:
- Set up your Blob Storage Account in the Windows Azure Portal, along with DNS settings for your Domain Registrar
- Configure your Blob Storage Account using CloudXplorer
- Set up a WordPress plugin to communicate with your Blob Storage Account
So, let's get started!
Setting up Windows Azure
The first thing that you are going to need is a Windows Azure Account. If you don’t already have one, there are a couple of ways that you can get one:
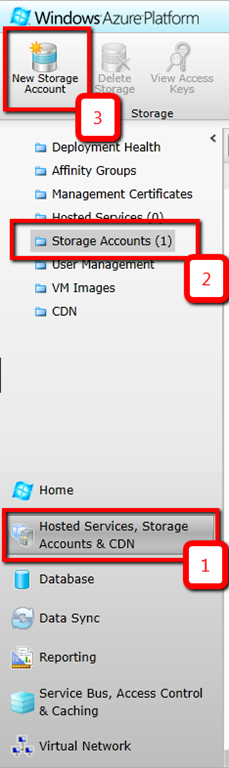
Once you have logged into your Windows Azure account, you will be presented with a huge selection of options, the scope of which are far out with the intention of this blog post, as a result, only the specific options to enable Blob Storage will be discussed here. Using the picture to the below as a guide, first select _Hosted Services, Storage Accounts & CDN, Storage Accounts, _then New Storage Account.
This will open the _Create a New Storage Account_dialog, where you will need to provide the details for the Storage Account that you would like to create.
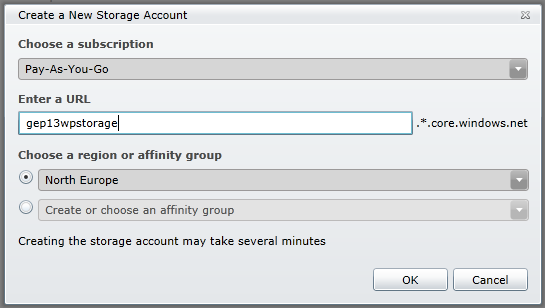
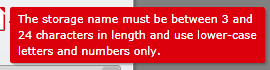
The first of which is the URL that you would like to use. This needs to be unique across the entire Windows Azure infrastructure so you may need to get a little creative with your choice of name. You will be prompted with an error message if you enter something that isn’t allowed.
The next piece of information is the region or affinity group that you want your Blob Storage Account to be located. Microsoft has several Data Centers located across the world, including Anywhere US, South Central US, Anywhere Europe, West Europe, Anywhere Asia, Southeast Asia, East Asia, North Central US, North Europe. Simply pick the region that makes most sense to your location. Click OK.
Your Storage Account will now get created. There will be a slight delay as your Account is first "Creating..."

Then "Resolving DNS..."

But the end result will be your Storage Account will be "Created"

If you select your new Storage Account, on the right hand side of the Windows Azure Portal you will see all of the properties for this new Storage Account:
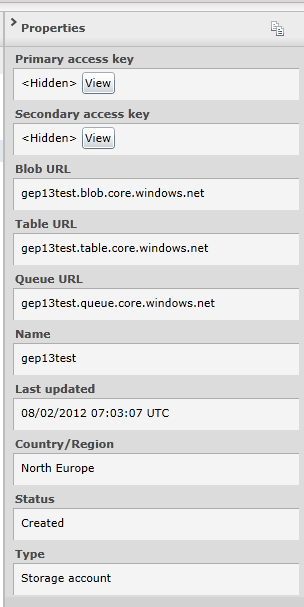
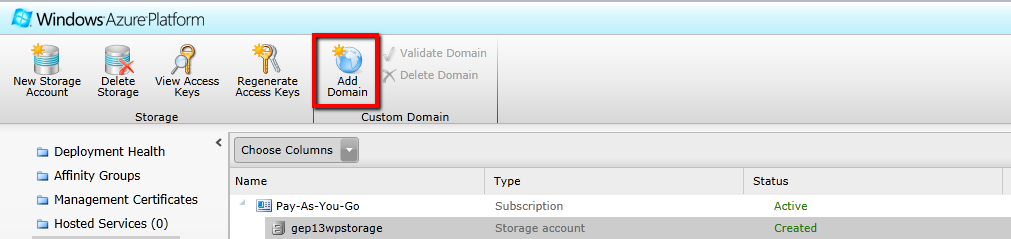
The main ones of interest are the "Keys", which we will use later to connect to the Blob Storage Account from WordPress, and the Blob URL. The Blob URL is the publicly routable URL for accessing your Blob Storage account. Any files you upload to the Blob Storage Account will be accessible using this URL as a prefix. As you can see though, this URL is slightly long, and when used in the context of existing website, say gep13.co.uk, it bears no relation to it. However, this is something we can change by applying a Custom Domain to the Storage Account.
Select your Storage Account, and then press Add Domain, as shown below:
In the _Add a Custom Domain _Dialog, enter the domain name that you would like to use for this Storage Account. In my case, I wanted to use cdn.gep13.co.uk:
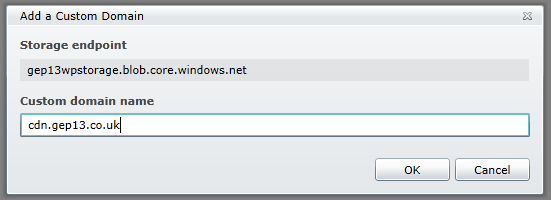
Press OK.
At this point, Windows Azure will begin to create the Custom Domain name:

Once the initial process for the Custom Domain creation has completed, you will then have to validate that the domain name that you want to use actually belongs to you:
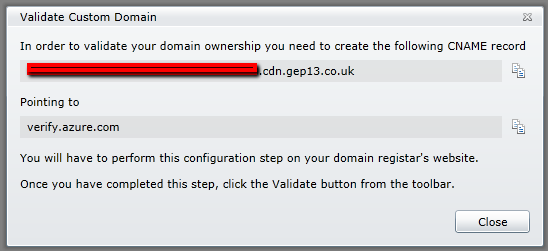
In order to do this, you will need to log into your Domain Registrar and alter the DNS Records for your domain to include a new CNAME record. The details for this record are provided for you, as per the above screenshot, so simply enter these details into your Domain Registrar site. As an example, this is what I had to do:
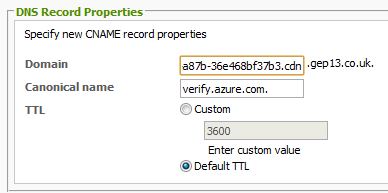
Depending on how your Domain Registrar user interface works, remember to include the "." at the end of the Canonical name, otherwise the DNS Record will not be accepted. Your new DNS record will take a while to propagate across the internet, so in the meantime, simply close the above Validate Custom Domain window, and you will see that your Custom Domain creation is in a _Pending _state:

At this point, you might want to jump to Step 11.
Once enough time has passed (I waited a couple of hours) return to the Windows Azure portal and select your domain and click Validate Domain:
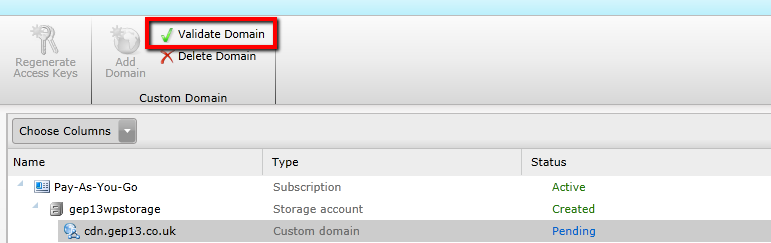
If everything worked correctly you will see:

However, depending on how long you waited, you might see this:
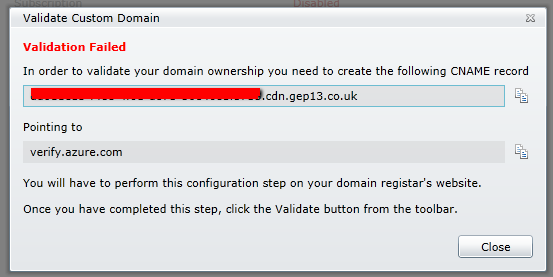
If you do, don’t worry, this simply means that the DNS Settings haven’t finished propagating, so try again later.
The only other thing left to do on this side of things is to create another CNAME record which will do the work of redirecting any requests to your Custom Domain, to your Blob Storage Account. All this means is that you need a CNAME record that has something like the following:
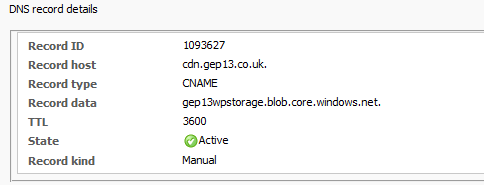
This is a redirect from the Custom Domain Name that you created, to the Blob URL for your storage account that was highlighted in Step 5 above. In order to say time, you might want to think about creating this CNAME record at the same time as you create the verify CNAME, that way you won’t have to wait a second lot of propagation time.
Configure your Blob Storage Account
Now that the Blob Storage Account has been created, and Custom Domain established, we have a little bit of work to do in order to first configure the Blob Storage Account for use. It is easiest to do this using a 3rd Party Tool. There are a couple of main ones out there, the first being from Redgate (who acquired Cerebrata) and you can get a trial version of their software, and also CloudXplorer from ClumsyLeaf. For the purposes of this walk through, I will be using CloudXplorer, so go ahead and get that installed.
Open CloudXplorer and select File | Accounts and the _Manage accounts_window opens:
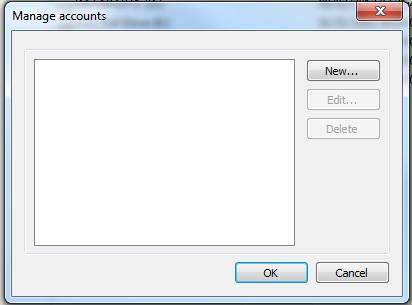
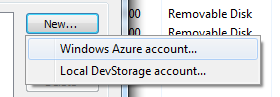
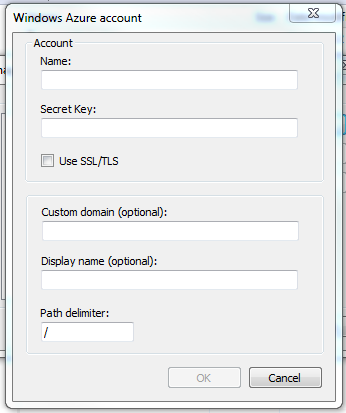
Click the New... button and then select Windows Azure Account... and the _Windows Azure account _window will open:
Using the information from step 5 above, enter the details of the Blob Storage Account that we created, where "Secret Key:" equates to the "Primary Access Key" (simply click View button to bring this up) and Name: is the Name of your Blob Storage Account, i.e. in my case gep13wpstorage.
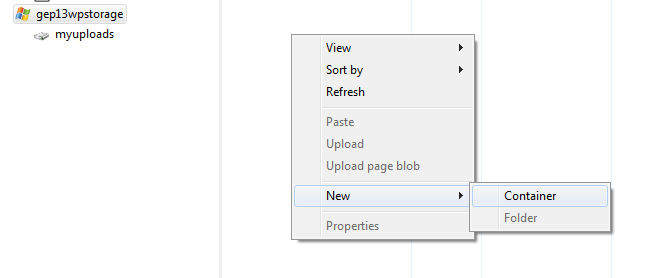
With the account in place, the first thing we need to do is to create a container within the Blob Storage Account. This will let us compartmentalise files into the correct location. Right click in the right hand window of CloudXplorer and select New | Container...
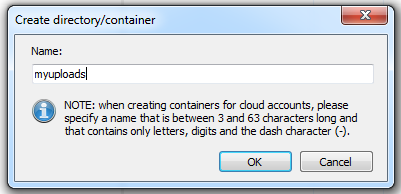
In the _Create directory/container _window, enter the name for your container. I went for "myuploads".
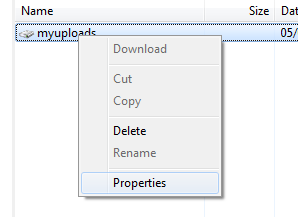
Now we need to set the properties of the container to allow public access. Right click on the container that you just created and select Properties.
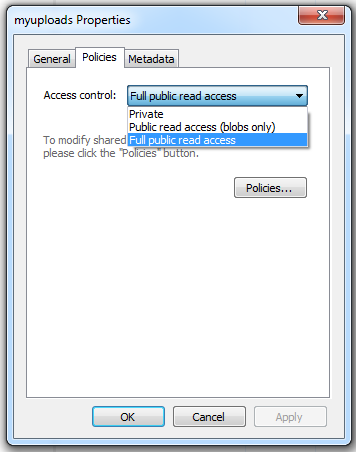
In the myloads Properties window, select the Policies tab and then select "Full public read access" in the Access control drop down list, then select ok.
Configure WordPress
At this point, you have a number of options to set up your WordPress site to use Windows Azure as it’s repository for static content. Microsoft have actually released their own WordPress plugin which does just that. If you are interested, you can find this here. I ended up not using this particular plugin. As far as I could see, the onus was on you to manually move the files into your Azure container. Now, this isn’t hard to do, using the CloudXplorer I showed earlier, files can easily be copied into the container, but I wanted something a little more integrated.
I ended up using the excellent W3 Total Cache plugin which you can find here. Again, the complete setup and configuration of this plugin is out with the scope of this particular blog post (I might write another one on this), however, the main thing to know is that there are a number of potential endpoints for this plugin including:
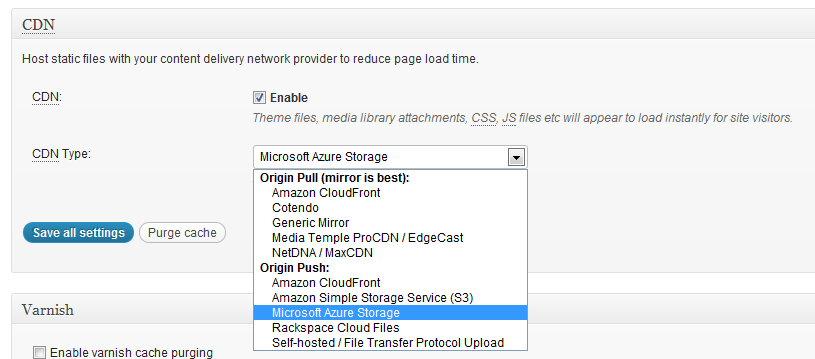
As you will see, I have chosen Microsoft Azure Storage. From there, you can then specify the options for connecting to Windows Azure:
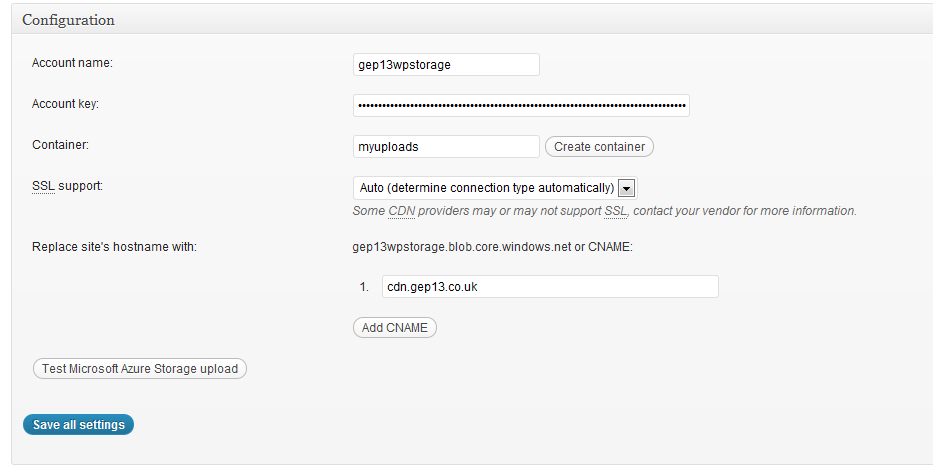
Including the Custom Domain name which we set up earlier (if you can remember that far back).
With that in place, you can then use the W3 Total Cache plugin to move all the necessary files into your Blob Storage Account. You can simply click on each of the required buttons:
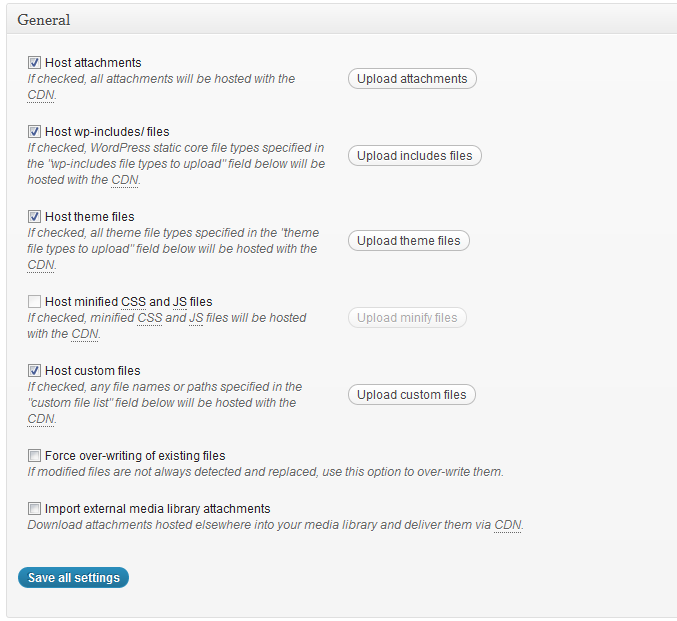
Then, with all the files uploaded, and W3 Total Cache activated, it will rewrite all of the URL’s for all of your static content to come from your Blob Storage Account. Feel free to take a look and see this in action by right clicking on the view source of this page, and searching for cdn.gep13.co.uk.
And that, as they say, is that! If you have any questions, please feel free to get in touch.
comments powered by Disqus