Caliburn.Micro Nuget Package doesn’t work
At the time of writing this blog post, the Caliburn.Micro Nuget package (Version 1.3.1) doesn’t install correctly. It adds the necessary references to the Caliburn.Micro assemblies, but it doesn’t add the additional installation files to the project, namely the AppBootstrapper.cs and MainPageViewModel.cs.
Thankfully, this is a known issue with the Caliburn.Micro package (it is listed here) and is actually as a result in the way the Nuget itself changed. Now, this problem has actually already been fixed in the latest Caliburn.Micro source code (which you can find here) but due to some remaining WinRT issues, the 1.3.2 version of Caliburn.Micro has not been released yet.
So, what can you do if you want to get a working Nuget package? The answer is to build the source code yourself. Now, this may seem a little scary, but it really isn't and the following steps will work you through what you need to do.
To Clone or to download
The first decision that you will need to make is whether you want to Clone the Caliburn.Micro source control locally to your machine, or whether you just want to download the source code. Due to the fact that I am lazy, the steps outlined here are going to talk you through the downloading route, but if you are interested in cloning the repository take a look at this article here.
Let’s get started
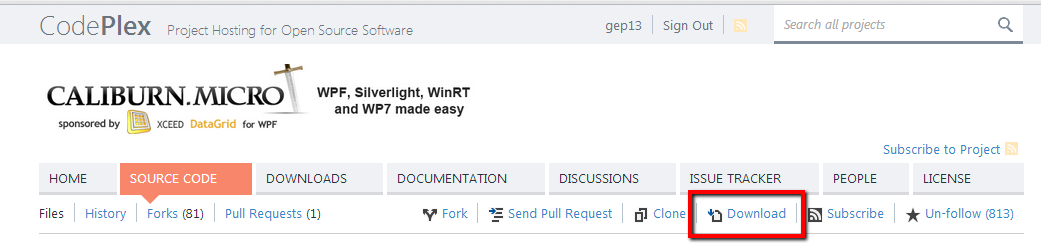
So, first thing’s first, go ahead and download the latest Caliburn.Micro source code:
Once the zip file has downloaded:
- Go to the folder where you saved it
- Right click on the zip file and select properties
- Click the Unblock button
- Click on Apply, then click OK
- Right click on the zip file again and select Extract All, and walk through the extraction wizard
Once that is complete, take a look at the contents of the folder. In the root of the folder, you should see a “src” folder, which contains three Visual Studio solution files, namely:
- Caliburn.Micro.PackageBuilder.sln
- Caliburn.Micro.sln
- Caliburn.Micro.WinRT.sln
In order to open the second solution file, you will need to have the Silverlight Tools and Windows Phone 7 SDK installed.
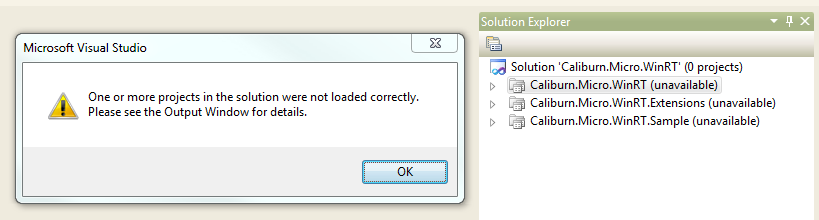
In order to open the last solution file, you are going to need to have Visual Studio 2012 along with .Net Framework 4.5 installed. If you don’t, and you try to open this solution in Visual Studio 2010, you will be greeted with the following:
Building the solutions
Depending on what frameworks you are targeting, i.e. Silverlight, Windows Phone 7, WinRT, open the correct solution file, and switch to doing a “Release” build. Build the solution, and ensure that there are no errors. The act of building the solution actually only creates the output assemblies, it doesn't generate the Nuget package. To be clear, at this point, you can build either solution, or both. The Nuget package created works on whatever it can find, and will place only the output assemblies that it can located in the resulting Nuget package.
Creating the Nuget package
Go back to the root folder of the zip file, and find the “nuget” folder. In here, you will find a PowerShell file called “create-packages.ps1”.
Do the following:
- Open PowerShell as an Administrator
- Run the command Get-ExecutionPolicy
- If this returns a value of “Restricted” then you are going to need to change this, otherwise the PowerShell script to create the Nuget package will not run. The command that you will need to run is Set-ExecutionPolicy RemoteSigned
- Browse to the folder where the above .ps1 file is located
- Run the following command .\create-package.ps1
- This will generate two Nuget packages, one called “Caliburn.Micro.1.3.2.nupkg” and “Caliburn.Micro.Start.1.3.2.nupkg”
- Finally, if your previous execution policy for PowerShell was restricted, be sure to put this back. To do this, run the command Set-ExecutionPolicy Restricted
Why are there two Nuget packages?
In version 1.3.1 of Caliburn.Micro, it was assumed that everyone who was using the Nuget package wanted the additional files that it included. This wasn't always the case (as some people roll their own AppBootstrapper, etc) and as a result, they would have to delete the unwanted files. To work around this, the Caliburn.Micro assemblies are stored in the “Caliburn.Micro.1.3.2.nupkg” package, and the additional installation files are stored in “Caliburn.Micro.Start.1.3.2.nupkg”. To complete the story, the “.Start” package takes a dependency on the main “Caliburn.Micro” package. This way, a user has a choice of what they want to use; very clever!
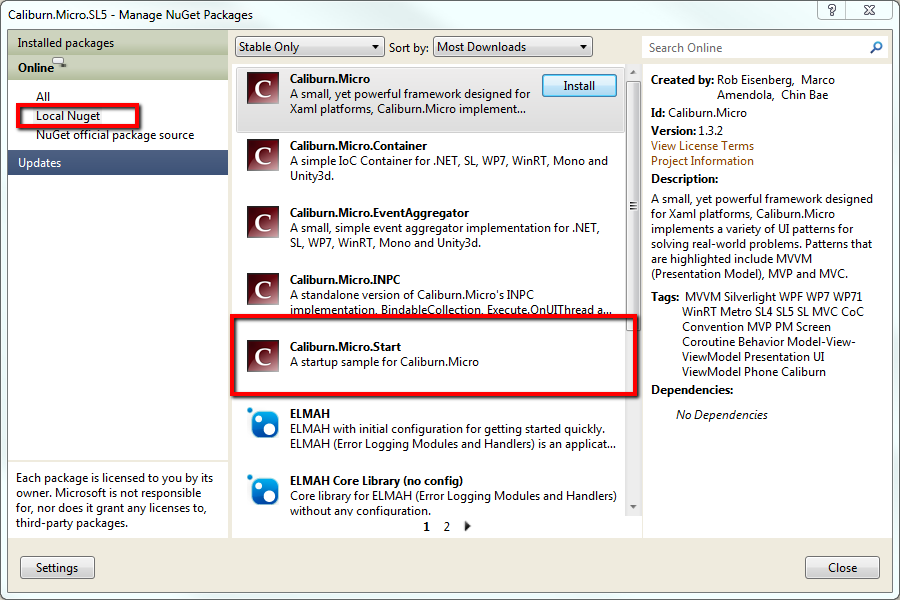
use a local Nuget repository
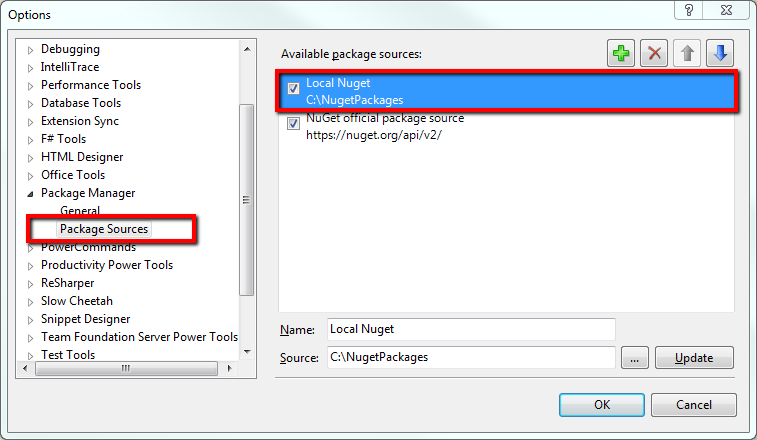
Now that you have these Nuget packages, what do you do with them? What I do is I create a folder on my C:\ drive, typically c:\nugetpackages and I put the Nuget packages in there. Then, within Visual Studio select Tools | Library Package Manager | Package Manager Settings. In the windows that opens up, select “Package Sources”, click the green "add" button, and enter “Local Nuget” as the Name, and “C:\nugetpackages” as the source, and click the “Update” button:
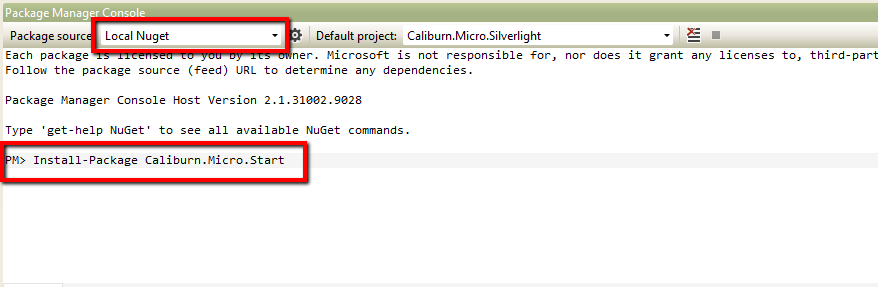
With this in place, then either through the Package Manager Console you can use the “Local Nuget” source and install the package:
Or, through the “Mange Nuget Packages” dialog you can again select “Local Nuget” and select the package that you want to install: